
Welcome to the world of car audio enhancements! If you’re planning to install an amplifier in your car, understanding the connection of the remote wire is crucial. This wire acts as a switch to turn your amplifier on and off with your car’s ignition, preventing battery drain when your car is off. In this guide, we’ll walk you through the steps to connect your car amplifier’s remote wire, ensuring your sound system works seamlessly without any power management issues.
Understanding the Remote Wire
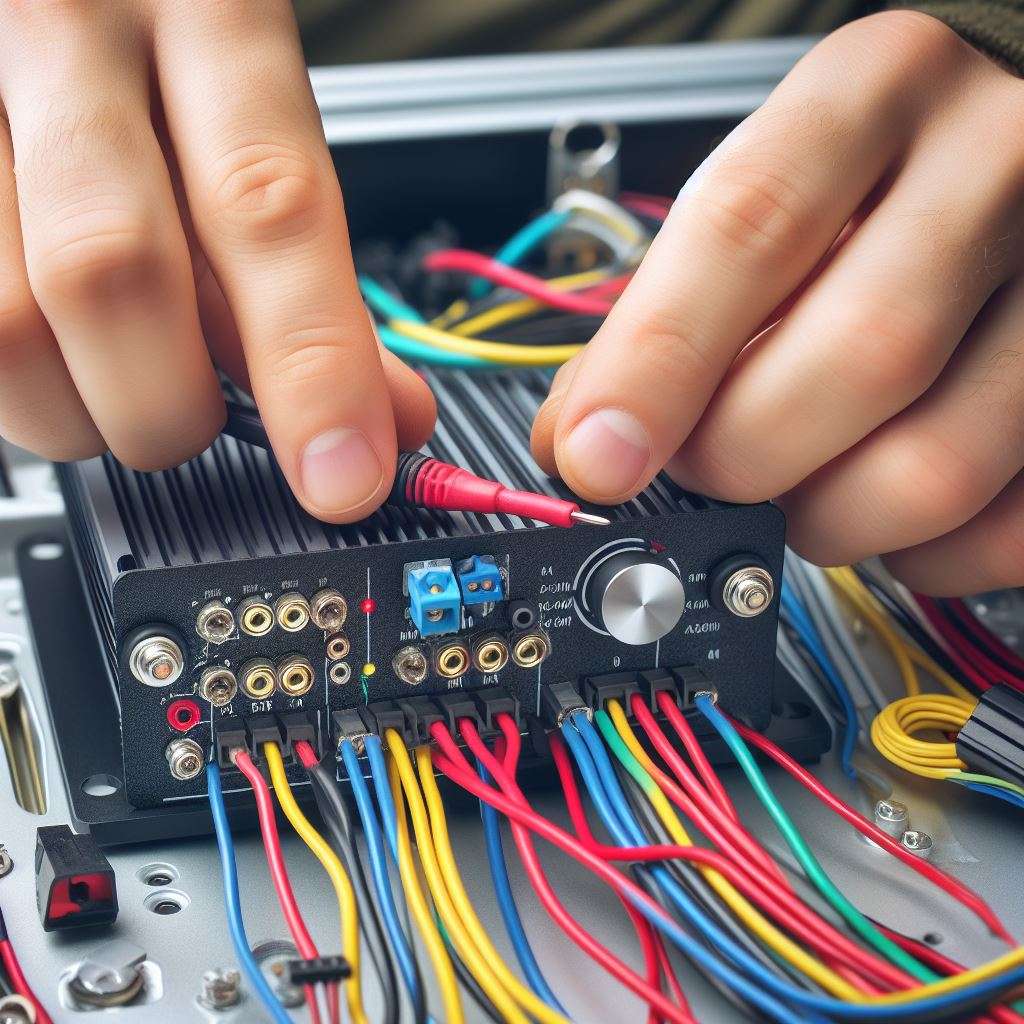
Before we dive into the “how,” let’s understand the “what.” The remote wire (often blue or blue with a white stripe) in car audio systems is essentially a low current wire that signals the amplifier to turn on when the car’s stereo is powered up. It’s a vital component in the installation process, as it allows your amplifier to synchronize with your car’s audio system.
Tools and Materials Needed
- Screwdrivers
- Wire strippers
- Wire crimpers
- Electrical tape or heat shrink tubing
- Remote wire (usually comes with the amplifier)
- Wiring diagram for your car stereo
Step 1: Locating the Source for the Remote Wire
The first step is to find a suitable source for your remote wire. The most common source is the back of your car stereo. Many modern car stereos have a dedicated remote wire output, often labeled as “Remote Out” or “Antenna Trigger.” If your stereo doesn’t have this, another option is to use the power antenna wire.
Step 2: Preparing for Installation
Before you start, make sure your car is off and the keys are removed from the ignition. This is a crucial safety step to avoid any electrical mishaps. Also, disconnect the negative terminal of your car battery.
Step 3: Accessing the Back of the Car Stereo
Gently remove the car stereo from the dashboard to access the wire connections at the back. Depending on your car model, this may require removing a few screws or unclipping panels. Be gentle to avoid damaging the dashboard.
Step 4: Connecting the Remote Wire
Once you have access to the back of the stereo, locate the remote wire or the power antenna wire. Using your wire strippers, strip a small section of the insulation off the remote wire from your amplifier. If you’re using the power antenna wire, strip a small section of this wire as well.
Twist the stripped end of the amplifier’s remote wire with the source wire (either the remote out or power antenna wire). Ensure the connection is secure. To protect the connection, use electrical tape or heat shrink tubing.
Step 5: Routing the Remote Wire
Route the remote wire from the back of the stereo to the location of your amplifier. Ensure the wire is neatly tucked away and does not interfere with other components. Use cable ties if necessary to secure the wire in place.
Step 6: Connecting to the Amplifier
Once the wire reaches the amplifier, locate the remote terminal on the amplifier, which is often labeled as “REM.” Connect the remote wire to this terminal. Ensure the connection is secure.
Step 7: Reassembling and Testing
After all connections are made, reassemble your car stereo and dashboard. Reconnect the negative terminal of your battery. Turn on your car and stereo to test if the amplifier turns on with the stereo. If everything is installed correctly, your amplifier should power up when the car stereo is turned on and power down when it’s turned off.
Troubleshooting Common Issues
If your amplifier doesn’t turn on, recheck your connections, especially at the back of the stereo and the amplifier. Also, ensure that you have connected to the correct remote output or power antenna wire.
Conclusion
Connecting the remote wire of your car amplifier is a straightforward process that can make a significant difference in the functionality of your car’s audio system. With this guide, you should be able to perform the installation with confidence. Remember, a properly connected remote wire ensures that your amplifier only draws power when it needs to, preserving your car’s battery life.
Remember, safety first! Always disconnect your battery before working on your car’s electrical system and consult a professional if you’re unsure about any step in the process.
Final Thoughts
Enhancing your car’s audio system can be a rewarding experience. With the correct installation of your amplifier’s remote wire, you’re set to enjoy crisp, powerful sound every time you turn on your stereo. Happy listening!
FAQs
Here are some frequently asked questions (FAQs) related to connecting the remote wire for a car amplifier, along with their corresponding answers:
Q: Where should I connect the remote wire for my car amplifier?
A: The ideal location to connect the remote wire depends on your car’s stereo system. If you have an aftermarket stereo, look for a blue or blue-with-white-stripe wire behind the head unit and connect your amplifier’s remote wire to it. For factory stereo systems without an aftermarket head unit, you can use a switched power source like the accessory power socket or an Automatic Remote Turn-On Module.
Q: How do I find the remote wire behind my aftermarket head unit?
A: Look for a blue or blue-with-white-stripe wire behind the head unit. This wire is typically labeled as the remote wire or “REM.” It’s essential to use this wire, as it sends a signal to your amplifier when the stereo is turned on.
Q: My factory stereo doesn’t have a remote wire. What should I do?
A: If your factory stereo lacks a remote wire, you can tap into a switched power source. Use a multi-meter to identify a component that receives power only when the ignition is on, such as the accessory power socket or a radio fuse. Connect your amplifier’s remote wire to this power source through proper connectors or an Automatic Remote Turn-On Module.
Q: Can I install a manual switch for the remote wire?
A: Yes, you can install a manual switch to control the power to your amplifier directly. Choose a switch that can handle the current, place it in a convenient yet safe location, and wire it in-line with the amplifier’s remote wire. This allows you to turn the amplifier on and off manually.
Q: Why is it important to connect the remote wire correctly?
A: Properly connecting the remote wire is crucial to prevent issues like battery drain or a non-functional amplifier. When connected correctly, the remote wire ensures that the amplifier powers up when your car stereo is on and shuts down when it’s off, preserving your battery and preventing electrical problems.
Q: What safety precautions should I take when working with the remote wire?
A: Always disconnect the car battery before working on your car’s electrical system to prevent short circuits. Ensure that all connections are secure and properly insulated to avoid loose wires and potential hazards. If you’re uncertain about any step, seek assistance from a professional installer.
Q: Are there advanced techniques for managing the remote wire in complex audio setups?
A: Yes, for advanced setups or systems with multiple amplifiers, you can consider integrating a relay. A relay can manage the power load more efficiently and reduce the chances of issues. Additionally, if you encounter noise in your system after installation, investigate grounding issues or use a noise filter.
You might also like,