
When you’re driving and your favorite song comes on, the last thing you want is distorted, muffled, or weak audio due to dirty car speakers. Over time, dust, dirt, and debris accumulate on and around your speakers, significantly impacting their performance. Fortunately, restoring the sound quality is as simple as giving your speakers a thorough cleaning.
This comprehensive guide will walk you through the steps to clean your car speakers for optimal sound performance. Whether you’re an audio enthusiast or just want a better driving experience, taking care of your speakers is essential.
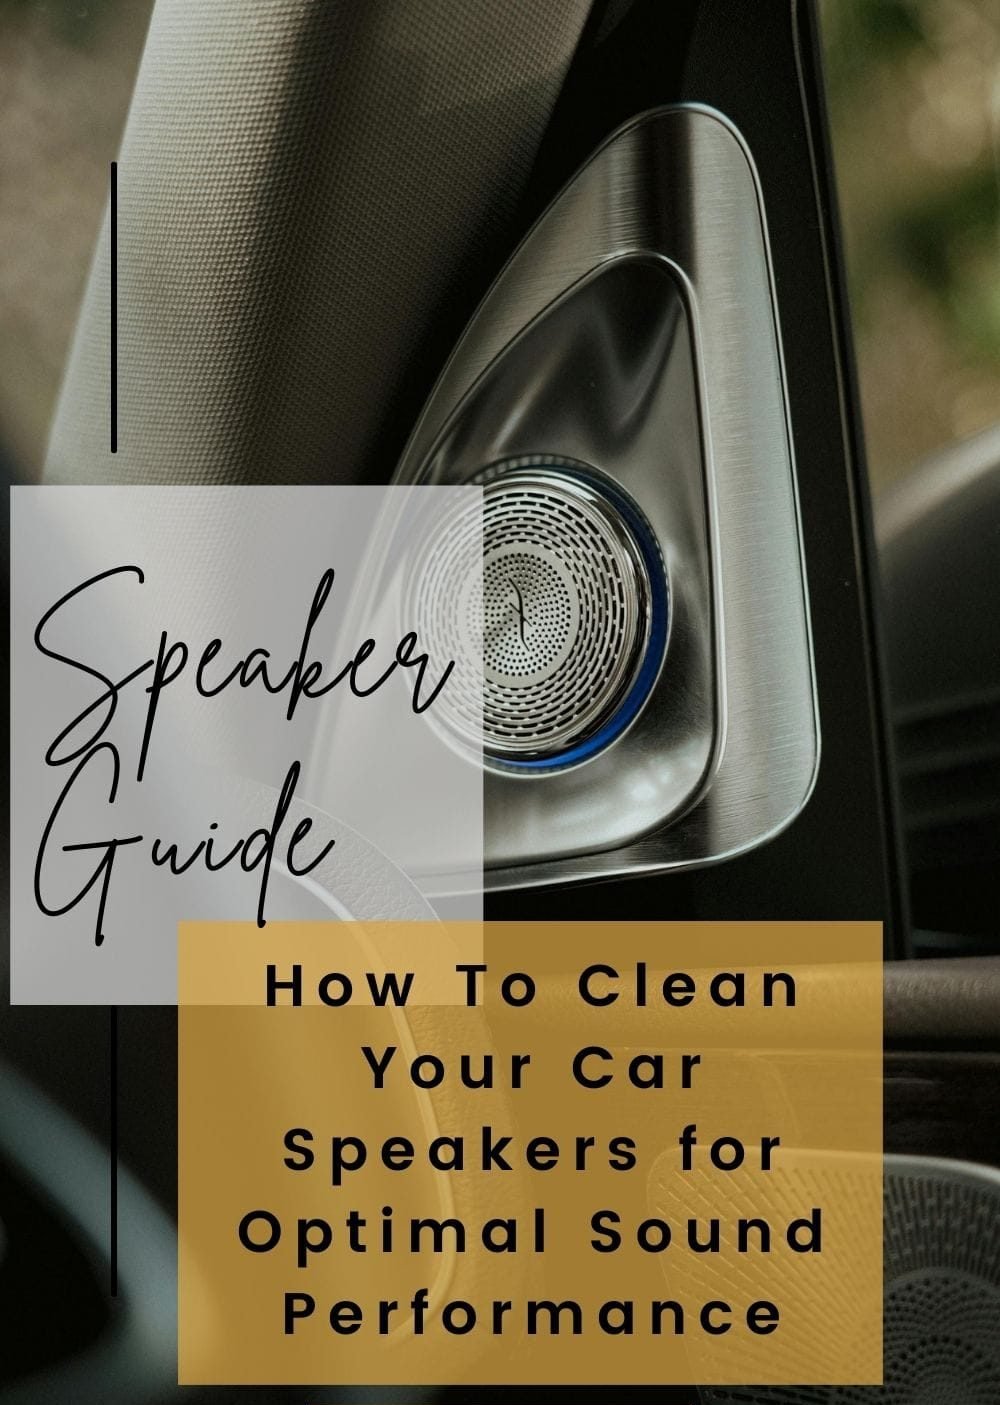
Why Cleaning Car Speakers is Important
Before diving into the step-by-step instructions, it’s helpful to understand why speaker maintenance matters.
1. Restores Audio Clarity
Dust and grime can cover speaker cones and block grills, preventing high and low frequencies from coming through clearly. A proper cleaning helps restore crisp treble, deep bass, and overall clarity.
2. Enhances Speaker Longevity
Dust buildup and moisture exposure can wear out speaker components, causing permanent damage. Regular cleaning reduces wear and tear, helping your speakers last longer.
3. Maintains System Efficiency
Clean speakers work more efficiently. Dirt and blockage can force the speaker to use more power to produce the same volume, potentially damaging the amplifier and decreasing energy efficiency.
4. Aesthetically Pleasing
Clean speakers look better, especially if they’re visible through grills or exposed on the dashboard or rear deck. A tidy speaker system complements a clean interior.
Tools and Materials You’ll Need
Having the right tools and supplies ensures a safe and effective cleaning process. Here’s a checklist:
- Microfiber cloths
- Soft-bristled brush (e.g., makeup brush, artist brush)
- Cotton swabs
- Compressed air canister
- Mild dish soap
- Warm water
- Isopropyl alcohol (at least 70%)
- Screwdriver set
- Vacuum cleaner with a brush or crevice tool
- Rubber gloves (optional)
- Speaker cleaning gel (optional)
Before you begin, make sure your car is turned off. If you plan to remove speakers or touch any wiring, disconnect the battery to avoid short circuits or electrical damage.
Step-by-Step Guide to Cleaning Car Speakers
Step 1: Locate All the Speakers
Identify where all your car’s speakers are installed. Typical locations include:
- Front door panels
- Rear door panels
- Dashboard (tweeters)
- Rear parcel shelf
- Trunk (subwoofers)
This will help you create a strategy for cleaning, especially if some are more accessible than others.
Step 2: Inspect Speaker Condition
Before touching anything, visually inspect the speakers and grills. Look for visible dust, discoloration, cracks, or debris. Make note of which speakers require deep cleaning versus a surface wipe.
Step 3: Remove Speaker Grills (If Applicable)
If your speaker grills are removable, gently detach them using a plastic pry tool or a screwdriver. Be cautious to avoid breaking any clips or mounts. If the grills aren’t removable, you’ll need to clean through the mesh with care.
Step 4: Vacuum Speaker Area
Using a vacuum with a soft brush or crevice attachment, gently clean around the speaker to remove loose dirt, hair, and particles. Don’t press the nozzle too hard against the speaker cone or surrounds.
Step 5: Dust the Speaker Cones
Speaker cones are sensitive and can be easily damaged, so use a soft-bristled brush to gently dust the surface. Start from the center and work outward. Avoid using pressure and never poke the cone.
Step 6: Clean with Damp Cloth
For tougher grime, dampen a microfiber cloth with warm water mixed with a drop of mild dish soap. Wring out excess water, then gently wipe the speaker frame and surrounding plastic or metal surfaces. Do not wipe the speaker cone directly with a wet cloth.
Step 7: Use Compressed Air and Cotton Swabs
For hard-to-reach places or stubborn debris:
- Use compressed air to blow out dust from crevices.
- Dip a cotton swab in isopropyl alcohol and gently clean small areas like buttons, edges, and terminals.
Step 8: Clean Speaker Terminals (Optional)
If you’ve removed the speaker and can access the wiring:
- Inspect the terminals for signs of corrosion.
- Use a cotton swab dipped in alcohol to clean the metal contacts.
- Allow everything to dry fully before reassembling.
Step 9: Clean and Reattach Grills
If you removed the grills:
- Wash them in warm soapy water if they’re made of plastic or metal.
- Use a brush to scrub gently.
- Let them dry completely before snapping them back into place.
Cleaning Different Speaker Types and Locations
1. Door Speakers
These speakers are prone to collecting dust and dirt due to their lower placement. Clean the grills, then use a brush or cloth to wipe the surrounding panels. Be cautious of moisture if you’re cleaning inside the door panel.
2. Dashboard Tweeters
Tweeters are small and delicate. Use a soft brush to dust them gently. If they’re under mesh covers, clean the covers with a microfiber cloth or vacuum.
3. Rear Deck Speakers
These are often under fabric or mesh grills. Use compressed air or a vacuum with a gentle brush to clean the surface. If accessible, remove the grills for better cleaning.
4. Subwoofers
Located in the trunk or under seats, subwoofers attract lots of dust. Clean the speaker cone with a dry cloth or brush and vacuum the enclosure. Avoid moisture around the magnet or wiring.
Maintenance Tips to Keep Car Speakers Clean
Preventative maintenance helps you avoid frequent deep cleans and preserves your sound quality longer:
- Keep windows closed when driving in dusty or polluted areas.
- Avoid eating or drinking near speaker locations to prevent spills and crumbs.
- Use car mats and vacuum your interior regularly to reduce airborne dust.
- Don’t blast the volume constantly, as it can cause physical wear and increase susceptibility to dirt buildup.
- Park in covered areas or use sunshades to reduce heat damage and dust accumulation.
Speaker Cleaning Do’s and Don’ts
Do:
- Use only soft, non-abrasive cleaning tools.
- Test cleaning agents on small areas first.
- Ensure everything is dry before reconnecting power.
- Work in a well-lit area to spot dirt easily.
Don’t:
- Use high-pressure water or harsh chemicals.
- Touch speaker cones directly with wet cloths.
- Poke or press on the speaker diaphragm.
- Spray liquid directly onto the speaker or grill.
How Often Should You Clean Car Speakers?
Frequency depends on usage and environment. General guidelines:
- Surface cleaning: Every 1–2 months
- Deep cleaning: Every 6 months
- Speaker removal and contact cleaning: Once a year
Drivers in dusty or coastal areas may need to clean more frequently.
Common Issues Cleaning Can Resolve
Regular cleaning can help resolve or prevent many audio problems:
- Muffled sound: Usually caused by blocked grills or dust on the cone.
- Crackling noises: Could be debris in wiring or terminals.
- Uneven audio output: Dirty or corroded terminals may be causing poor connectivity.
- Distorted bass: Often due to obstructed subwoofers or dirty enclosures.
If issues persist after cleaning, the speaker or amplifier may need professional servicing.
When Cleaning Isn’t Enough: Time for Replacement?
If your speakers still sound bad after cleaning, it might be time to replace them. Signs you may need new speakers:
- Persistent distortion or buzzing
- Torn or punctured cones
- Broken surrounds
- Water damage or corrosion
- No sound despite working wiring
Upgrading to high-quality aftermarket speakers can significantly enhance sound quality, especially if your factory system is outdated.
FAQs About Cleaning Car Speakers
Q: Can I use alcohol on speaker cones?
A: No. Alcohol can damage delicate cone materials, especially if they’re paper-based. Use a dry brush or microfiber cloth instead.
Q: What if the speaker cover doesn’t come off?
A: Clean the outer grill with compressed air, vacuum, or a damp cloth. Don’t try to force it off—you could break it.
Q: Will cleaning my speakers void the warranty?
A: Cleaning external parts won’t affect your warranty, but opening or removing components might. Check your manual or contact the manufacturer first.
Q: Is it safe to clean speakers while they’re installed?
A: Yes, as long as you’re not using excessive moisture or pressing directly on the cone. Just be gentle and avoid internal wiring unless you disconnect the battery.
Q: Can cleaning improve speaker performance?
A: Absolutely. Removing debris from grills, cones, and terminals can restore clarity and volume.
Final Thoughts
Taking the time to clean your car speakers is a smart and simple way to maintain excellent audio performance. Whether you’re an everyday commuter or a car audio enthusiast, clean speakers make every drive more enjoyable. With regular maintenance and a little care, you can keep your system sounding crisp and looking fresh for years to come.
Don’t wait until your speakers sound terrible—add cleaning to your regular car care routine and enjoy every note the way it was meant to be heard.